
 12:53 PM
 Bijay Kumar
In this post we will discuss how to create an application page in SharePoint 2010 using Visual Studio 2012. If you want to check how to create an application page using visual studio 2010 in sharepoint 2010, then you can see this article.
Also you can check out my previous posts on:
- Office Developer Tools for Visual Studio 2012 for SharePoint 2013
- What's new in Developer dashboard in SharePoint 2013?
- Friendly URL in SharePoint 2013
You can get more information on application pages as well as you can check what is the difference between site pages and application pages.
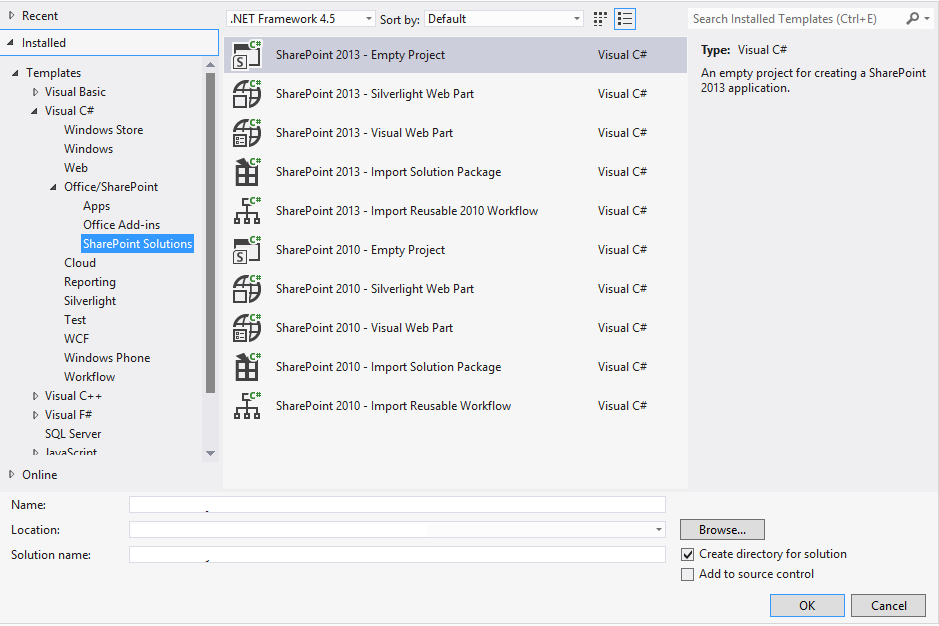
First open Visual Studio 2012, then from the left side select Office/SharePoint -> SharePoint Solutions and there select SharePoint 2013 - Empty Project as shown in the fig below:

Then in the SharePoint Customization wizard, give the local site for debugging as well as chose Deploy as a farm solution. There are certain limitations in Sandboxed Solution.
- Then right click on the project -> Add New Item and then from the Add New Item dialog box, chose Application Pages (Farm Solutions only) template.
- Then you can put some controls to the application page, as well as you can write some code for that.
- Now Build and Deploy the project, If it is deployed successfully, then we can browse the application page. In SharePoint 2013, application pages deployed to C:\Program Files\Common Files\microsoft shared\Web Server Extensions\15\TEMPLATE\LAYOUTS folder location.
- We can browse the page like below:
http://SiteURL/_layouts/Project-Name/Name-of-Application-Page.aspx
Also you can check out my previous posts on:
- Office Developer Tools for Visual Studio 2012 for SharePoint 2013
- What's new in Developer dashboard in SharePoint 2013?
- Friendly URL in SharePoint 2013
You can get more information on application pages as well as you can check what is the difference between site pages and application pages.
First open Visual Studio 2012, then from the left side select Office/SharePoint -> SharePoint Solutions and there select SharePoint 2013 - Empty Project as shown in the fig below:
Then in the SharePoint Customization wizard, give the local site for debugging as well as chose Deploy as a farm solution. There are certain limitations in Sandboxed Solution.
- Then right click on the project -> Add New Item and then from the Add New Item dialog box, chose Application Pages (Farm Solutions only) template.
- Then you can put some controls to the application page, as well as you can write some code for that.
- Now Build and Deploy the project, If it is deployed successfully, then we can browse the application page. In SharePoint 2013, application pages deployed to C:\Program Files\Common Files\microsoft shared\Web Server Extensions\15\TEMPLATE\LAYOUTS folder location.
- We can browse the page like below:
http://SiteURL/_layouts/Project-Name/Name-of-Application-Page.aspx
 Posted in


