 11:40 AM
 Bijay Kumar
In this post we will discuss about SharePoint 2013 architecture.
Also you can check out:
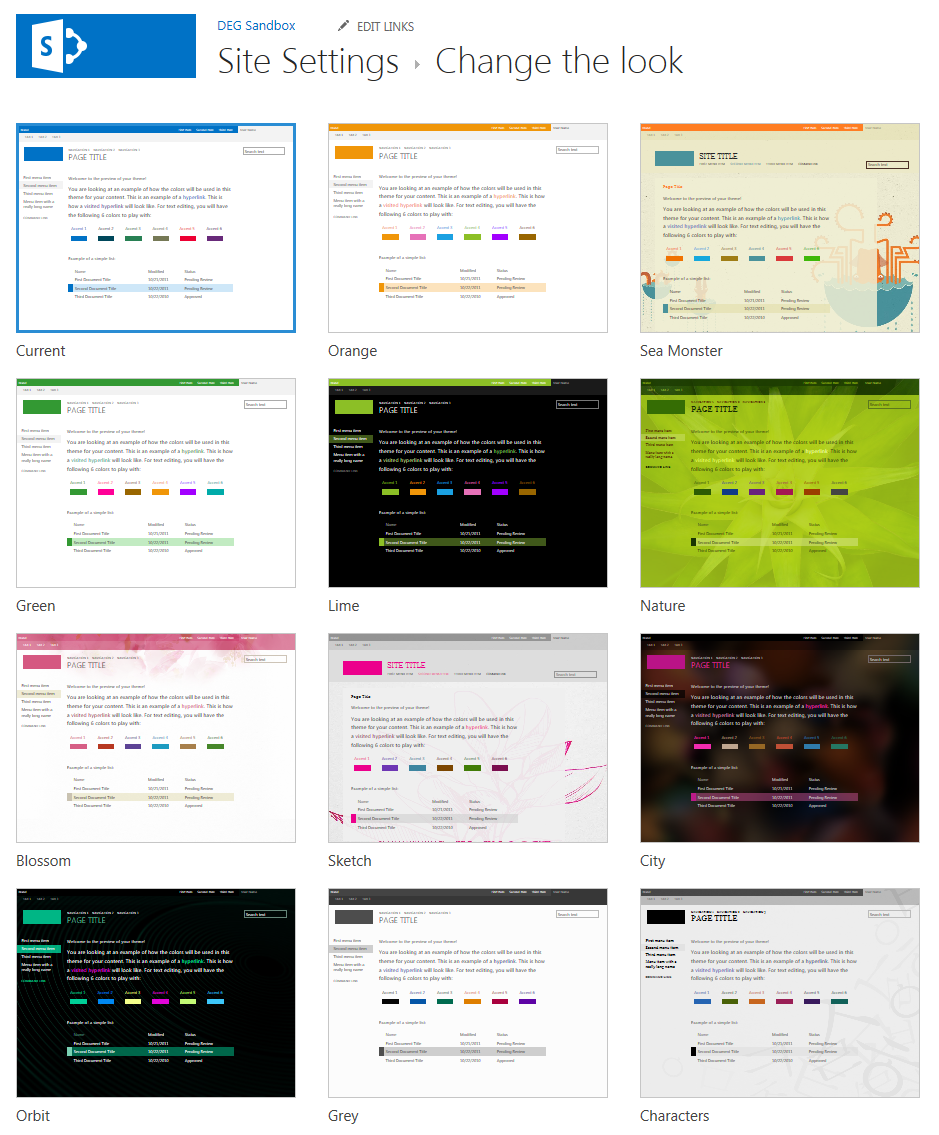
- Change theme in SharePoint 2013
- App Life Cycle Management in SharePoint 2013
- What's new in Developer dashboard in SharePoint 2013?
Before reading further check the SharePoint 2013 architecture fig below:

As we all know both SharePoint Foundation 2013 and SharePoint Server 2013 are available only in 64-bit versions. They can be installed on a 64-bit version of Windows Server 2012 or Windows Server 2008 R2. Microsoft does not support installing SharePoint 2013 on a client operating system such as Windows 7 or Windows 8.
But you can install SharePoint 2013 on a virtual machine running on Windows 8.
On top of the Operating System, IIS is coming. SharePoint 2013 supports IIS 8 (Windows Server 2012) or IIS 7.5 (Windows Server 2008 R2).
SharePoint Foundation 2013 is built on .NET Framework 4.5.
Next layer is the Microsoft SharePoint Foundation 2013, On top of it Microsoft SharePoint 2013 Server presented.
Also you can check out:
- Change theme in SharePoint 2013
- App Life Cycle Management in SharePoint 2013
- What's new in Developer dashboard in SharePoint 2013?
Before reading further check the SharePoint 2013 architecture fig below:
As we all know both SharePoint Foundation 2013 and SharePoint Server 2013 are available only in 64-bit versions. They can be installed on a 64-bit version of Windows Server 2012 or Windows Server 2008 R2. Microsoft does not support installing SharePoint 2013 on a client operating system such as Windows 7 or Windows 8.
But you can install SharePoint 2013 on a virtual machine running on Windows 8.
On top of the Operating System, IIS is coming. SharePoint 2013 supports IIS 8 (Windows Server 2012) or IIS 7.5 (Windows Server 2008 R2).
SharePoint Foundation 2013 is built on .NET Framework 4.5.
Next layer is the Microsoft SharePoint Foundation 2013, On top of it Microsoft SharePoint 2013 Server presented.
 Posted in
SharePoint 2013
Posted in
SharePoint 2013